This guide will help you if you’re new to Photoshop and need help figuring out how to add new fonts to your designs. This will also show you a couple of quick and easy ways to add fonts to Photoshop. We’ll show you step-by-step how to do it.
While you’re making a social media post or an event poster, the text you use is what most designs are about. This makes how your font looks even more important. The fonts that come with Windows and Mac are really bad, which is a shame. They will also stop you from being creative.
It doesn’t matter how experienced you are. We’ve all had trouble installing fonts at some point. You can learn it all on your own with this guide.
When you install a font on either Windows or Mac, you can use it in other programs like Adobe Photoshop, Illustrator, InDesign, Microsoft Word, and more. Let us start using it and see how it works.
How to Add Fonts to Photoshop in Windows

You need to install fonts on your computer before you can add them to Photoshop. This is an important thing to know before we start the tutorial.
Download Font Files
The first thing you need to do is get the font files. You can download the fonts from any font market like, DaFont, Google Fonts, Adobe Fonts etc. The font file you downloaded will be in the Downloads folder as a ZIP file. To get to the font files inside this ZIP file, you need to extract them.
To open the ZIP file, right-click on it and pick “Extract Files.” After you extract the files, all fonts will be in a folder you can use.
Installing Font One by One
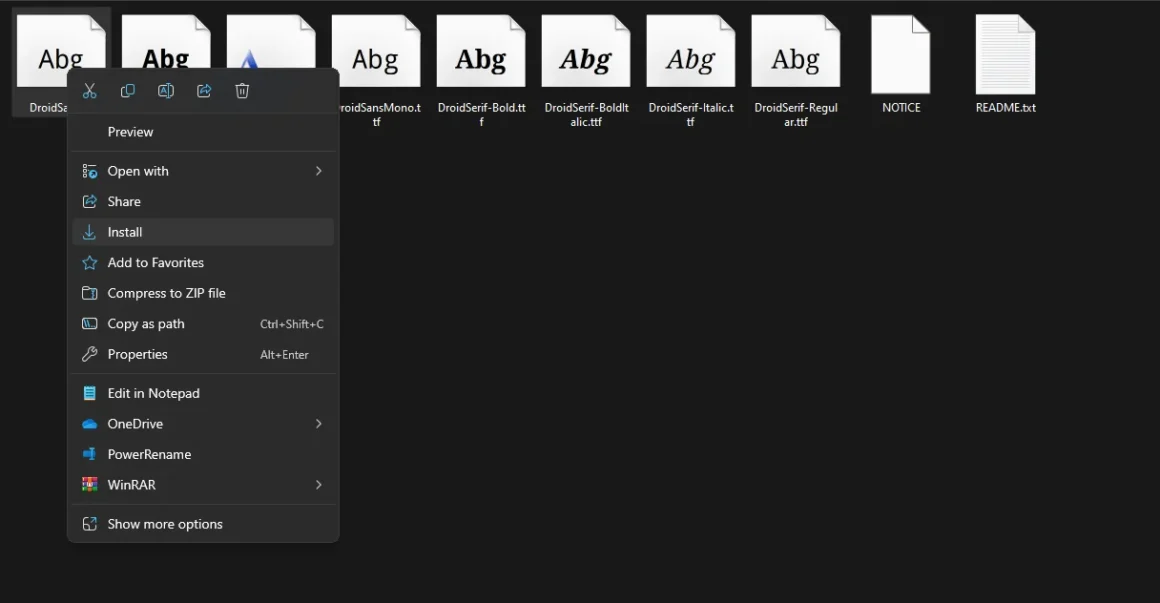
You can Install fonts in two different ways. The easiest way to install one or two font files is to use the font explorer.
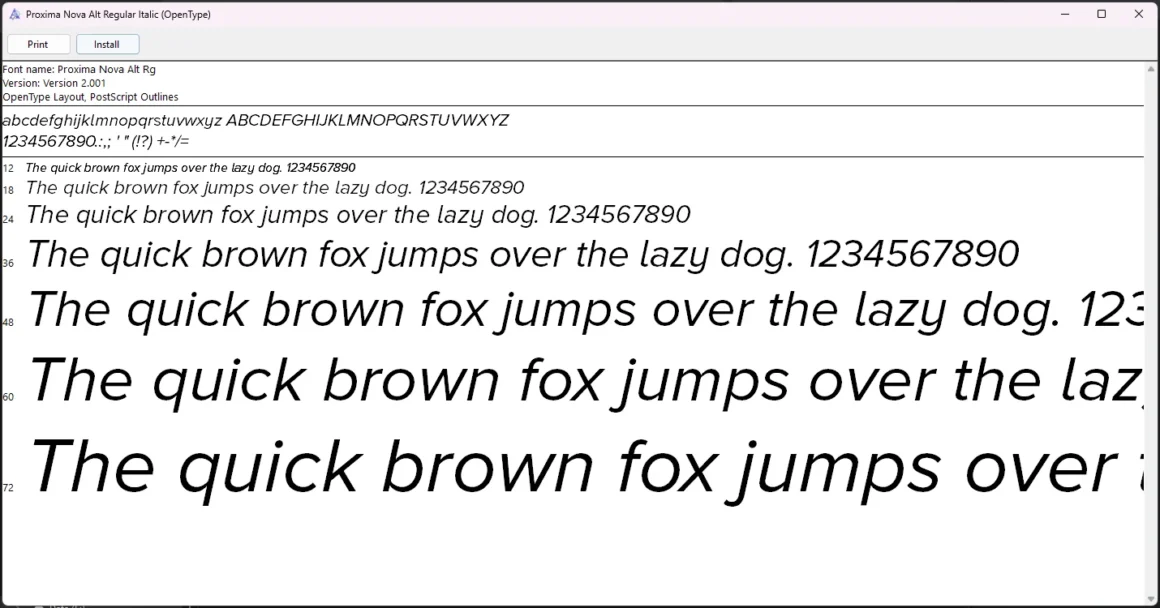
To use the font, just double-click on it. The font explorer window will pop up. There is an Install button in the upper left corner of this window. Installing the font after you click this button will take less than a second.
Installing Multiple Fonts

It will be hard to install each font file separately if you have a lot of them to install, like a whole font family. To install many fonts at once, follow these steps.
To customize the fonts on your Windows computer, go to Settings > Personalization > Fonts. You can also type Fonts name into the search bar.
If you’re in this window, all you have to do to install fonts is drag and drop them into the Fonts folder. All of the fonts will be installed quickly and ready to use on all application on your Windows PC or Laptop.
How to Add Fonts to Photoshop in Mac
Installing fonts on a Mac is pretty much the same as installing them on a Windows PC. Follow the steps we showed you earlier to download the font files and then open them.
After that, double-click the font file and select “Install.” You can also go to Users > Library > Fonts to install more than one font. Also, paste all of the font files into the fonts folder.
As soon as you put the fonts on your Mac, Photoshop will automatically be able to use them. Close the app and reopen it if the new fonts don’t appear immediately.
How to Install Fonts in Photoshop From Adobe
Downloading and installing fonts is one way to use Adobe Fonts. With an Adobe Creative Cloud account, you can also add fonts directly to Photoshop. Lets see How easy to do that:
Go to Adobe Fonts
Photoshop’s text tool lets you look through Adobe fonts. To do this, go to the drop-down menu for fonts and click on the Creative Cloud icon.
Choose a Font
This will take you to the Adobe Fonts website, where you can look for fonts that fit your needs. For example, you need “Proxima Nova,” Simply type font name, then search through all fonts.
Activate Font
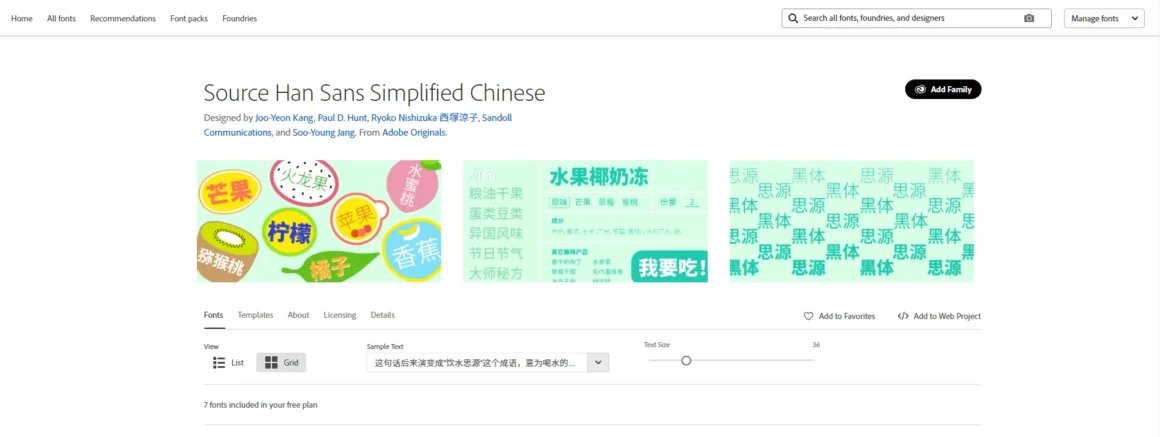
To add the font to Photoshop, click the switch next to “Activate Font” or “Add Family” You can use it immediately after this because it will add it to Photoshop immediately.
This is just a helpful message from Adobe after you’ve set up your font.
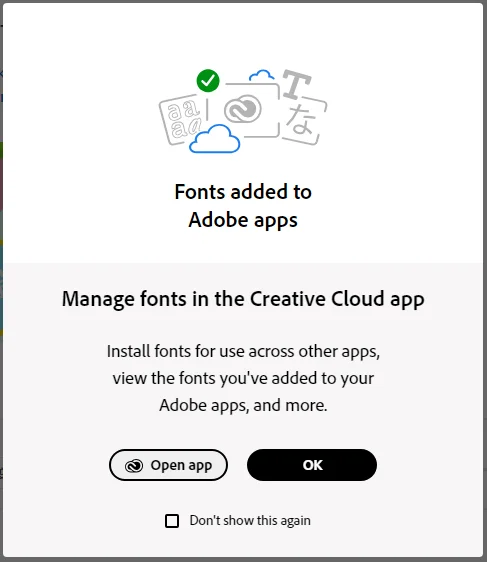
Ready to Use Your Fonts in Photoshop
When you add an Adobe font, you can use the text tool right away in Photoshop, and the font will follow you wherever you log in to your Creative Cloud account.


